Latest Articles
Arcade Buttons MIDI Controller
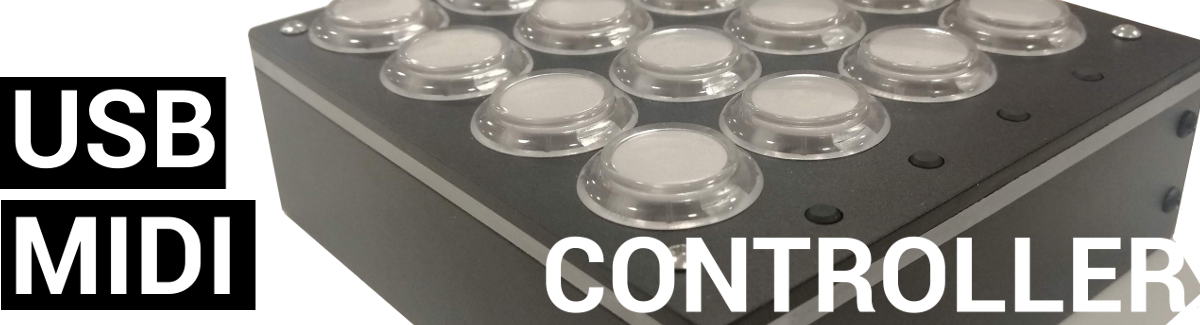
A few years ago I found MIDI Fighter. MIDI controller with arcade buttons instead of traditional pads. Great idea. In the beginning, it was a DIY solution and that was also my inspiration. Arcade buttons are perfect for finger drumming or, in my case, for Cue Points control (with multi-coloured LEDs it's a perfect solution) in any DJ software (like NI TRAKTOR or Mixxx). Great idea of how to extend my DJ setup.
...DJ Deck Control - DIY MIDI controller for Djing
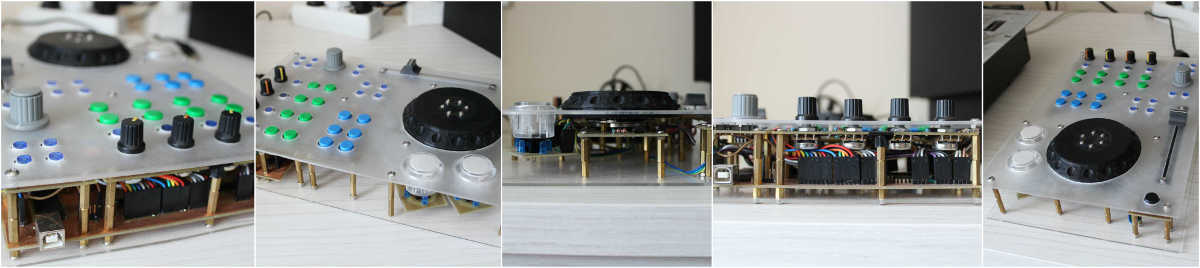
After my first attempt at DIY with the conversion of an old DJ mixer to a USB MIDI controller I realised that it would be great to create and have a complete DIY setup. DJ USB MIDI Mixer was complete I had to focus on how to control of the virtual DJ decks in TRAKTOR (or whatever DJ software you use like SERATO or MIXXX), that's how I started the journey of my own DIY DJ Deck MIDI controller.
...Conversion of analog DJ mixer to USB MIDI connection
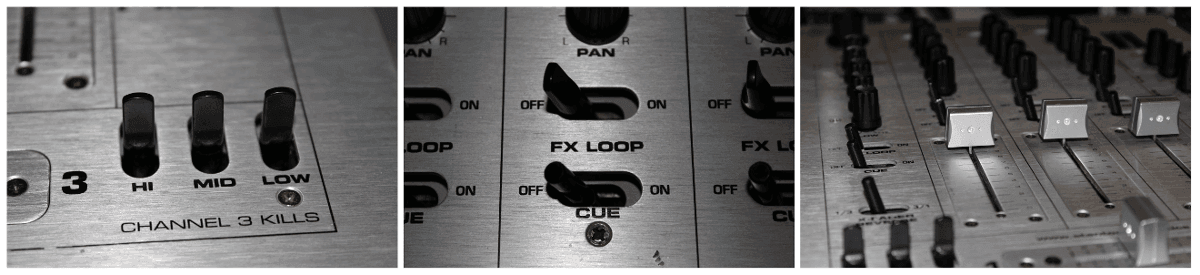
I had an old Stanton RM-3S analog mixer in my basement unused for few years, so I decide to do something with it. Because times have changed, I already use a setup with two turntables (an old Vestax PDX2000) and a MIDI mixer so I decided to modify it to the actual needs - convert it to a USB MIDI mixer, usable with DJ software like TRAKTOR..
...Room Layout and Monitors Placement
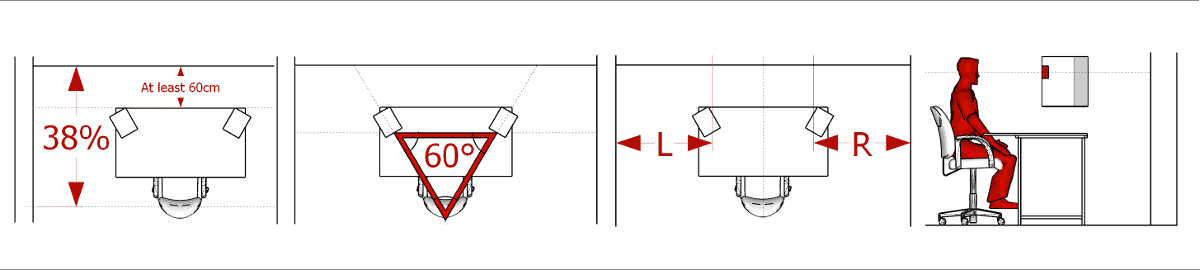
Maybe at a first glance this topic doesn't seems so crucial but it's an important issue regarding the quality of your production. If you want to design your own sound to an appropriate quality level with your own style then you not only need to have skills but also a good environment. This is not about expensive studio equipment , in fact, this is not about equipment at all, it is about physical space and room.
...Acoustic Room Treatment

There are different opinions on this part, whether it is necessary or not. According to my humble opinion if you believe it seriously, then it is very important step. The Treatment of how you design your room can significantly improve your production flow and save a lot of wasted time by revealing all the pitfalls of sound design.
...Corner Bass Traps
As described in the previous article the distortion on low frequencies is most significant in the corners of the room. When using your home or a small production or recording studios which are limited by budget it is often the design of simple DIY corner bass traps which is only one way of how to at least partially resolve this problem. One bass trap was made for each corner. The design of a corner bass trap is very simple and consists of three main parts:
...Back Wall Acoustic Panel
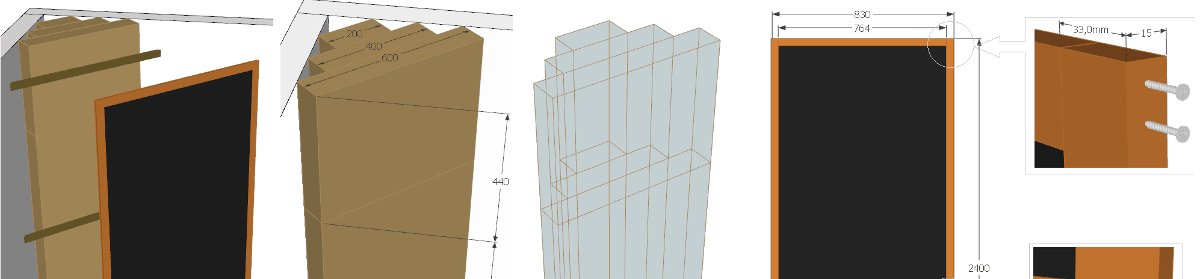
Once I had completed the acoustic treatment of the corners, the front of the room, side and cloud acoustic panels, the time came to complete the last part - the back wall treatment - placed on the wall behind your ears. I decide to solve this by the execution of one construction mounted directly to wall without the need to create a back side of the panel. Again the construction consist of three main parts:
...Acoustic Panels - Side walls and cloud position
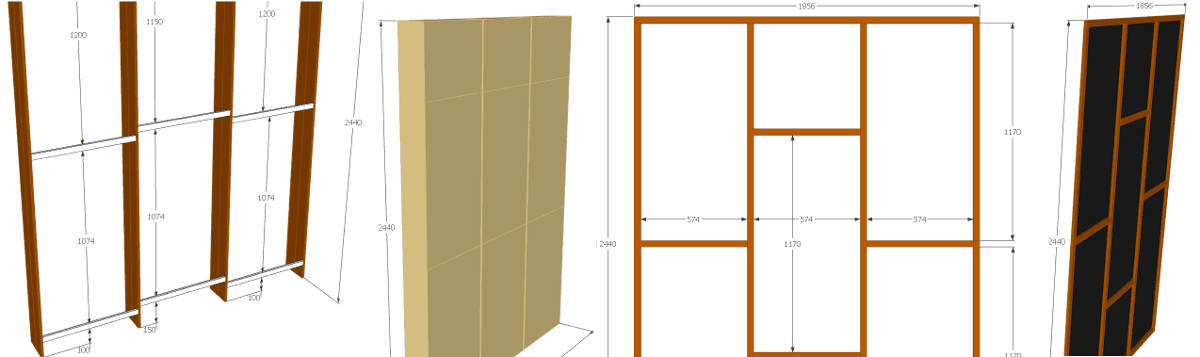
We can now move on to the next chapter in the construction of my production room. After the corner bass traps were complete it was necessary to take care of the side walls in the early/first reflection zone, so I built several acoustic panels for the side walls and also a couple for use as cloud absorbers hanging down from the ceiling. The acoustic panels are cheap and very simple.
Is important to mention that these acoustic panels are basically very universal. If you decide to treat the room in a simple way this is all you need is to create a several of these panels and place them in the right places - surfaces (walls, ceiling) and corners as well.
The panels consist of three main parts:
...Stand alone Acoustic panels / Bass traps
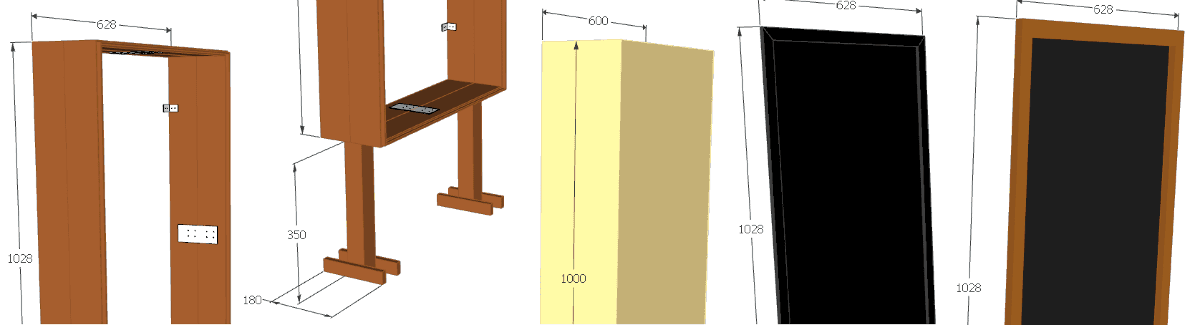
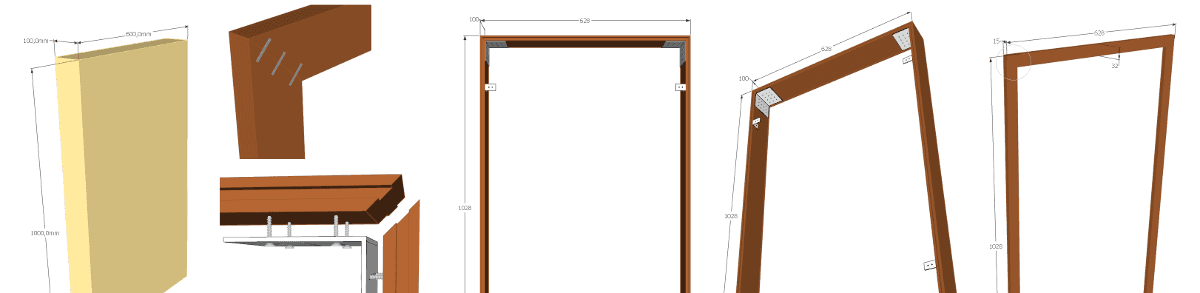
The front wall of my room (behind the speakers) contains the window, so I had to resolve the acoustic treatment of this section of the room by stand-alone solutions. I decide to make acoustic panels from an acoustic absorbing panels, placed in to a wooden frame standing on simple legs made by few wooden laths. On the front and back side, I covered the acoustic material by breathable fabric (pinned on the light wooden frame). Since panels are relatively thick and are situated about 30 cm from the front wall, they can also absorb also part of the low frequencies range. This contributes to better room acoustic response (less distortion) on the bass sounds so it also has the function of bass trap.
...